How to Position a Mural Like a Pro
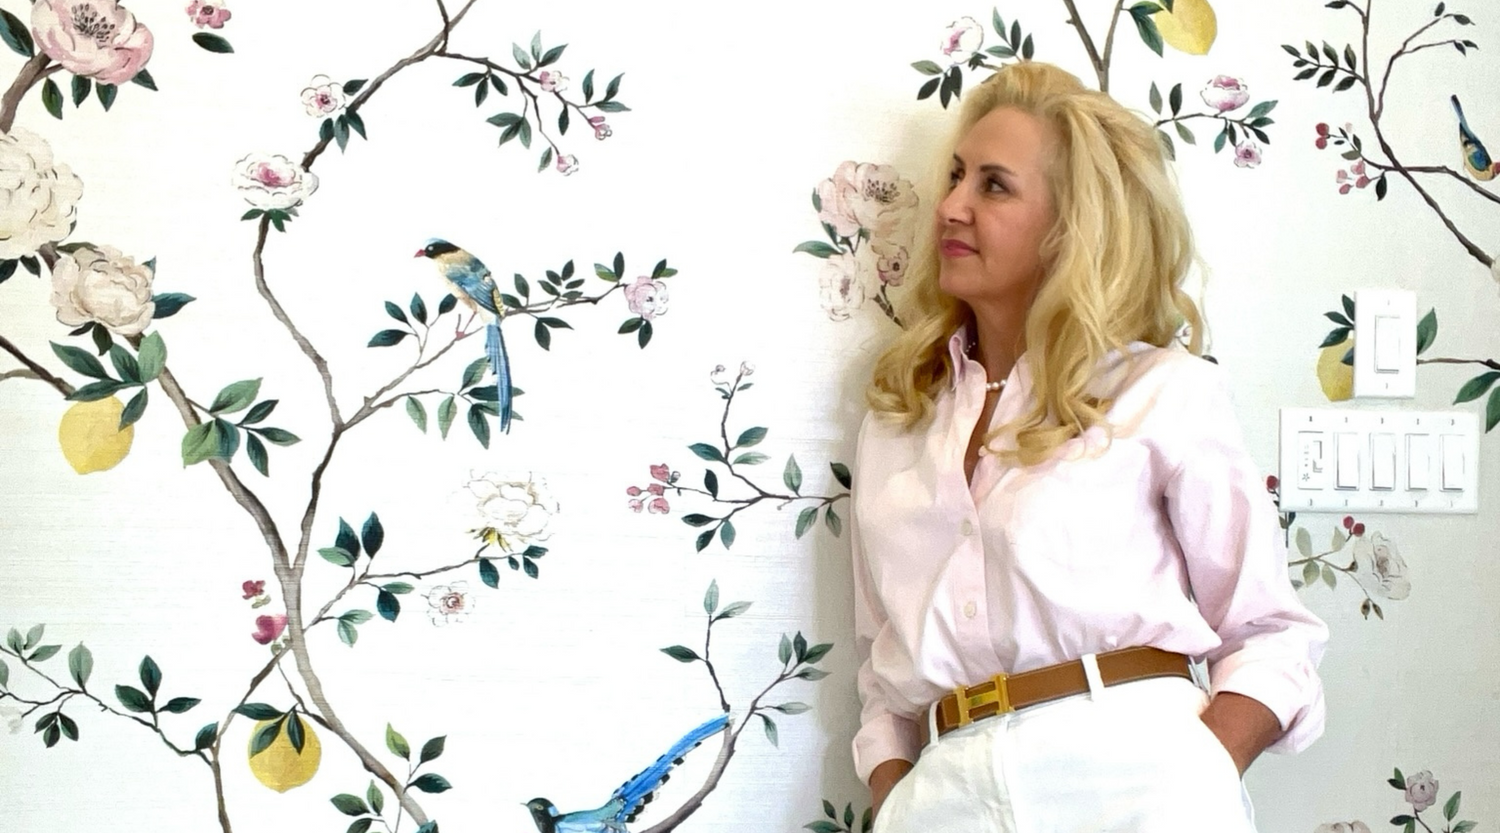
Darling, so you’ve bought a mural—fabulous choice! Now, you’re wondering, “How on Earth do I position it just so?” Well, fret not! I’ve got some design tips that will make your home feel like a refined gallery, with just a sprinkle of whimsy, of course. Let’s dive into the art of mural positioning.
Step 1: Lay It Out Like a Puzzle
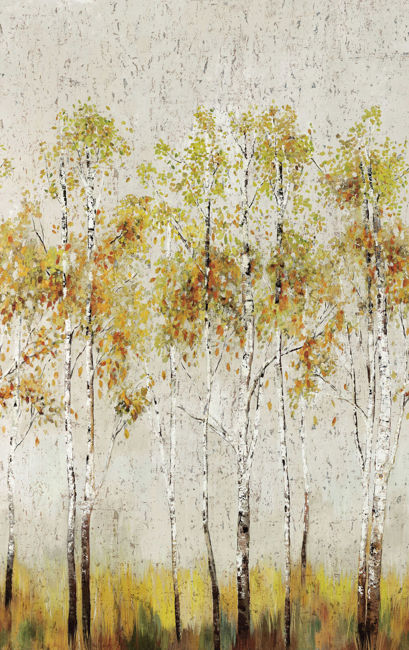
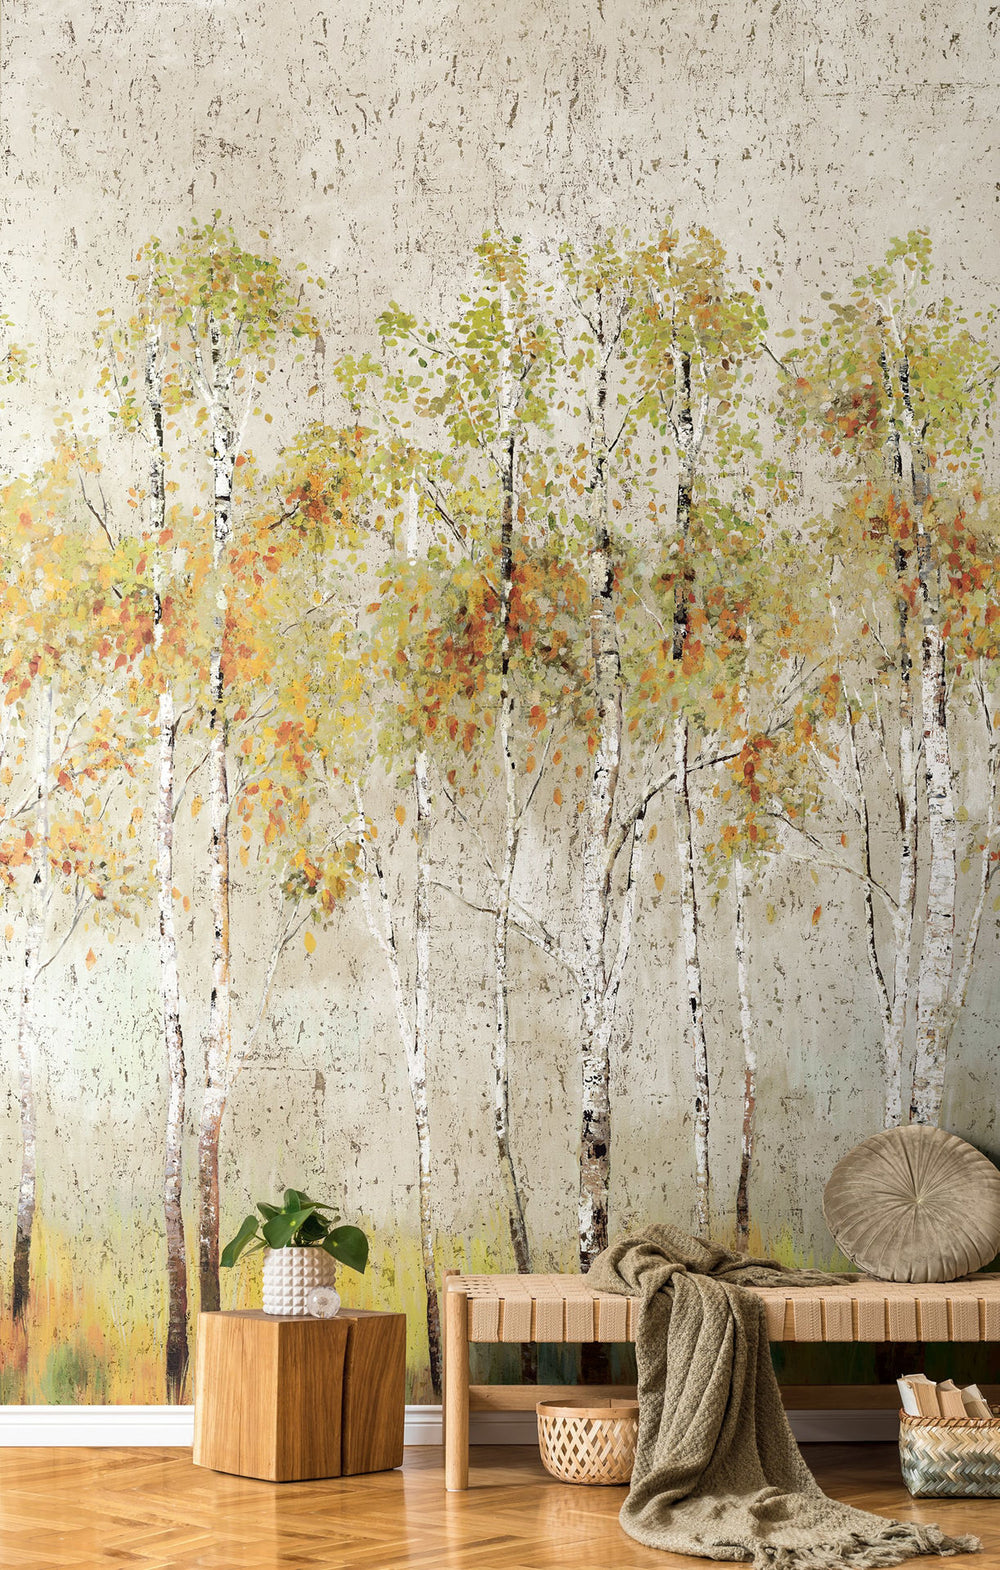
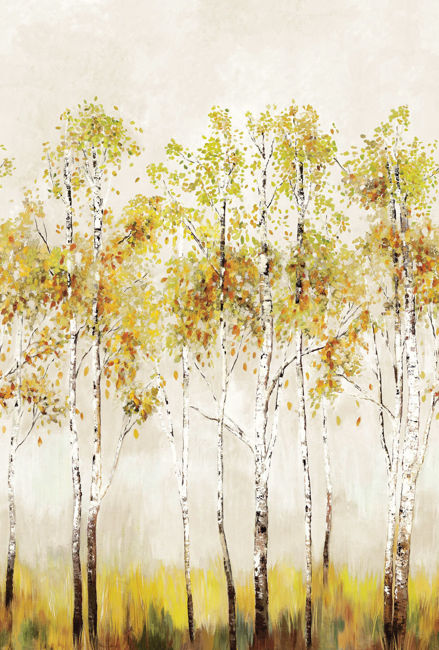
Now, before you grab that wallpaper paste, let’s take a beat. Lay out your mural panel by panel to get a feel for the entire scene. At Daisy Bennett Designs, our murals are designed in repeat, meaning you can carry the design around a room for a complete visual experience. —how divine, right?
Step 2: Don’t Start in the Corner, Darling
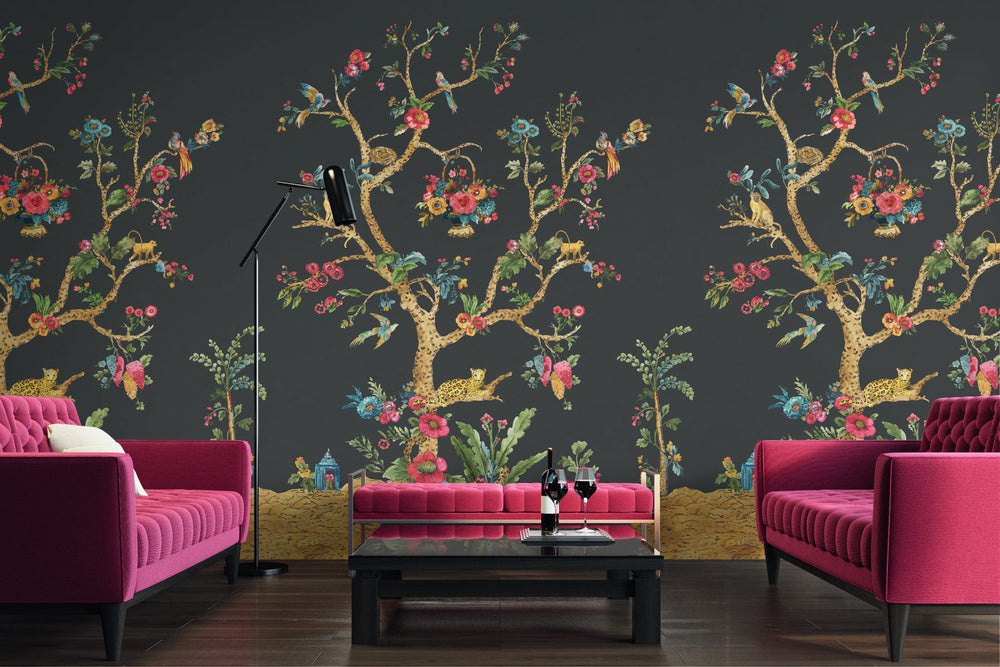
Here’s where it gets a little quirky. Many people start installing a mural from the corner of the room—oh, but how terribly predictable! Instead, lay out your panels first and think strategically. When we placed this mural in a living room, we wanted those two lovely trees to be the stars of the show. So, we didn’t start in the corner like one might think. Instead, we let the trees dictate the flow. Be bold and make your statement—center your mural’s motif where you want it. The beauty of our murals is that we design them in repeat. So no matter where you show the center motifs, you will be able to continue the mural design to finish your feature wall or you entire dining room.

Step 3: Center Your Motif, Trim the Rest
Now, listen closely, because this is where the magic happens. Center your motif—that’s the pièce de résistance of your mural. From there, you’ll continue the mural in repeat. Just trim and adjust the other panels to fit your wall’s size. It's all about balance and ensuring the most delightful part of your mural command’s attention. Voilà!
Now, the silver Chinoiserie Blossom Mural on silver grass-cloth comes on panels 34” wide. This is because grass-cloth is a natural product and always comes 36” wide but we trim our murals to make your life easier and the wallpaper hangers’ life easier.
This same design comes on non-woven paper which is a fabulous product to hang. The Chinoiserie Blossom Mural in blush, navy and emerald green comes in 3 panels and is 10’ in height. This all needs to be considered when planning a room with murals. (show photo schematic or I can send a photo of the blush mural on a wall)
Final Tip: Leave It to the Pros
If all this sounds like a bit much, never fear! A seasoned wallpaper hanger can help you achieve mural perfection, darling. I always hire a professional wallpaper hanger to hang my grasscloth murals.

They’ll ensure your space looks absolutely marvelous—down to the last millimeter. Just make sure they lay it out and you show them where you want the mural to start with the center motifs being featured. This is an important step to creating a balanced and beautiful space with a mural.


